If there’s one thing I’ve come to appreciate in my years of tinkering with cars and other projects, it’s the art of working with metal. Specifically, aluminum. Over the years, I’ve found that melting and casting aluminum has become not only a useful skill but also a creative outlet for me. It all started as a way to make custom parts for my car or repair something that was no longer in production, but now, I can’t imagine a week going by without some new aluminum project in the works. There’s something incredibly satisfying about melting down aluminum and shaping it into something useful—or even artistic.
For anyone who’s ever been curious about casting aluminum at home, I can tell you from personal experience that it’s totally doable, even for beginners. It does take some equipment, patience, and the right safety precautions, but with the right knowledge, you can start melting and casting aluminum in no time. In this post, I’ll walk you through what you need to get started, some basic techniques, and share a few tips I’ve picked up along the way.
Why Aluminum?
Aluminum is one of the most versatile metals you can work with. It’s lightweight, durable, and has a relatively low melting point (around 1,200°F). This makes it ideal for casting at home, especially for beginners. It’s also widely available and can be sourced from scrap aluminum, like old cans, car parts, or even scrap metal from the junkyard. This means that not only is it a relatively inexpensive material to work with, but you can often recycle materials you already have, which is both cost-effective and environmentally friendly.
The beauty of aluminum casting is that it allows you to create custom parts for all kinds of projects. Whether you’re working on car repairs, making decorative pieces, or creating small tools, aluminum casting opens up a whole world of possibilities.
Getting Started: Tools and Equipment
The first thing you’ll need is the right equipment. Melting and casting aluminum requires high heat, so you’ll need a furnace or a method of reaching that 1,200°F threshold. I started with a basic propane furnace, which can be purchased or made from a few simple materials. If you decide to build your own, there are plenty of tutorials online that guide you through the process.
You’ll also need a crucible. This is where the aluminum will melt, so it needs to be able to withstand high heat. A steel or cast iron crucible works best, as aluminum is highly corrosive when molten. You can find these at most foundry supply shops or online, but you can also repurpose a heavy-duty metal container if you’re on a budget.
A few other tools that will make your life easier include:
- Tongs: For handling the hot crucible safely.
- A mold: You can either buy or make your own. Sand casting is a popular method for beginners, and it’s relatively simple. You create a mold by packing sand around a pattern (usually a piece of scrap metal or something you’ve sculpted yourself) and then pouring molten aluminum into the cavity.
- Protective Gear: Safety first. You’ll need heat-resistant gloves, a face shield or welding helmet, long sleeves, and boots to protect yourself from hot metal and sparks.
Preparing the Metal
Before you start melting, you’ll need to prepare your aluminum. If you’re using scrap metal, it’s a good idea to clean it up first. Aluminum can be covered in oils, paints, or coatings that could cause issues when melting. You can use a wire brush or a grinder to remove most of the contaminants. Once your metal is clean, you can start chopping it down into smaller pieces to make it easier to melt. You don’t need a lot of metal for small projects—just a few pounds should be more than enough to start with.
Melting the Aluminum
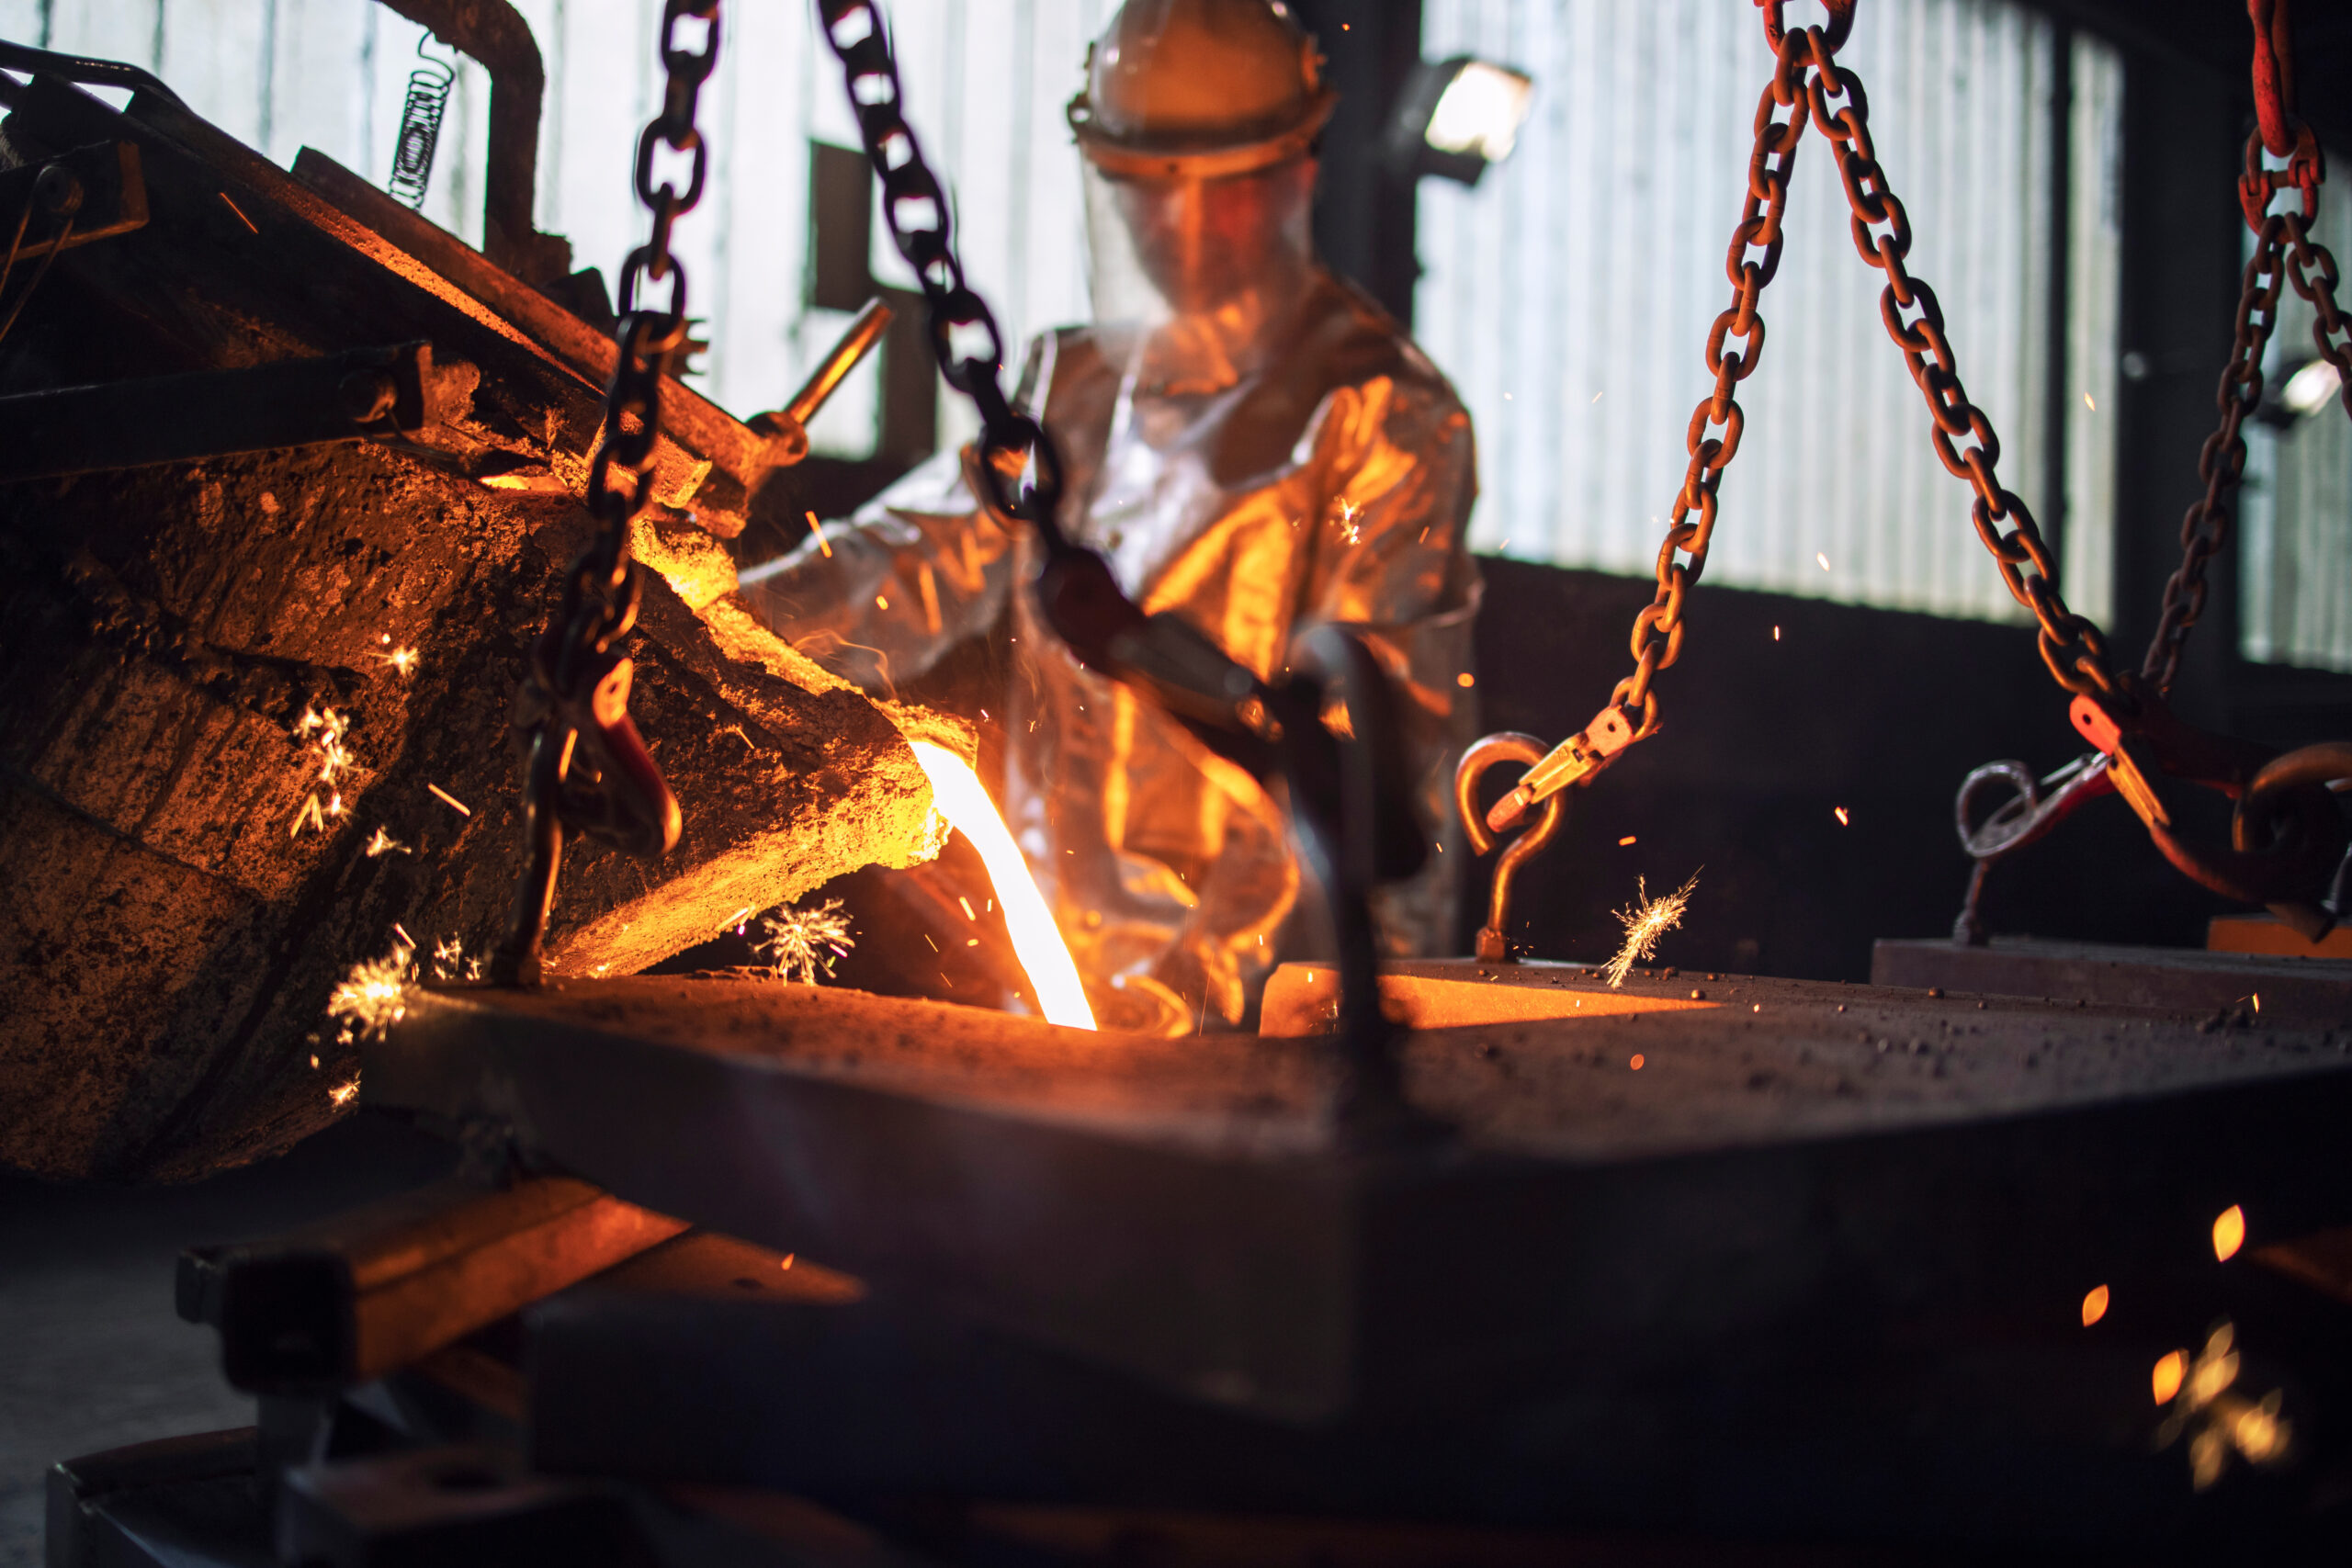
Once everything is set up, it’s time to start melting. I usually light the propane furnace and let it heat up for a few minutes. After that, I carefully place my aluminum pieces into the crucible and allow them to melt. Depending on the amount of metal, this can take anywhere from 15 to 30 minutes. While the aluminum is melting, you’ll notice some impurities rise to the surface, often referred to as “dross.” You can skim this off with a metal spoon or ladle.
This part of the process is crucial because it’s where you want to ensure the metal is clean and free from any unwanted contaminants before you pour it into the mold. Once the aluminum is fully melted and the dross has been removed, it’s time to move on to the fun part—pouring it into the mold.
Pouring the Aluminum
Now comes the moment of truth: pouring the molten aluminum into the mold. This requires a steady hand and a bit of confidence. You want to make sure the mold is prepared properly, with no moisture or debris in it, as these can cause the aluminum to splatter. I’ve learned over the years to make sure my mold is preheated slightly, especially if I’m working with sand molds, as this helps prevent cracking.
Once the mold is ready, I use tongs to carefully lift the crucible and pour the molten aluminum into the mold slowly and steadily. It’s best to pour in one smooth motion to avoid air pockets or bubbles, which can weaken the final product. After pouring, I let the aluminum cool and solidify in the mold for about 30 minutes, depending on the size of the cast.
Finishing the Cast
Once the aluminum has cooled, it’s time to remove it from the mold. This can be done by gently breaking away the sand or cutting away any other mold material. I’ve found that using a hammer and chisel works well for getting rid of the sand mold. At this point, you’ll have your casted part!
From here, you can clean up the edges by sanding or grinding, depending on the final use of the piece. I like to smooth out any rough spots, especially if I’m going to use the part in a car repair or as a decorative element. Polishing is another option if you want a shiny finish, but it’s totally up to you and the look you’re going for.
Tips for Success
One of the biggest lessons I’ve learned while casting aluminum is to take it slow. It’s easy to get excited and rush through the process, but the best results come from patience and attention to detail. The more I practice, the better I get at predicting how the metal will behave and how to make my molds more effective.
Another tip is to always be aware of safety. Molten metal is incredibly dangerous, and working with high heat requires careful attention. I’ve had my fair share of close calls, and I’ve learned to respect the process and the materials.
Aluminum casting is a rewarding and practical skill that allows you to create custom parts, tools, or artistic pieces right from home. It’s a process that’s both technical and creative, and with a little bit of practice, you can achieve professional results. Whether you’re making car parts, sculptures, or just experimenting for fun, melting and casting aluminum opens up a world of possibilities. The key is to keep learning, stay safe, and enjoy the satisfaction of creating something with your own hands.