A well-built workbench is a must-have for anyone who spends a lot of time working with their hands. Whether you’re into automotive work, woodworking, or just need a solid workspace to take on DIY projects, a sturdy and functional workbench makes all the difference. Over the years, I’ve built a few workbenches myself, and I can honestly say there’s nothing more satisfying than having a workspace that is perfectly suited to your needs. It not only makes your work easier but more enjoyable as well.
If you’ve ever thought about building your own workbench, I’m here to walk you through the process. I’ll cover everything from materials and design to tools and tips for constructing something that’s not just functional, but a pleasure to use. Whether you’re looking to build a basic workbench for your garage or create a custom setup for specialized tasks, this guide will help you get started.
Why Build Your Own Workbench?
When I first started thinking about building my own workbench, the idea seemed like a no-brainer. Sure, you can buy a workbench from a store, but there’s something unique and satisfying about constructing your own workspace. The ability to customize the design to fit your specific needs, your available space, and your personal style makes the whole process worth it.
Another reason to build your own workbench is the ability to incorporate features that aren’t available in store-bought models. You can add drawers, tool organizers, or specialized compartments for your gear. Plus, building your own means you can choose high-quality materials that will last for years and withstand the wear and tear of constant use.
And let’s be honest, there’s nothing quite like the feeling of walking into your workspace, knowing you built it from the ground up.
Planning Your Workbench Design
Before you start cutting wood or grabbing screws, it’s important to have a clear design in mind. I’ve made the mistake of jumping straight into a project without a plan, and it always ends up being more frustrating than it needs to be. So, take the time to sketch out your workbench and think through what you want from it.
For me, functionality comes first. When I build a workbench, I make sure it has ample surface area. If you’re working on cars or doing projects that require a lot of space, you don’t want to be constantly moving things around to make room. I’ve learned that the more space you have, the easier it is to stay organized and focused.
Think about your work habits, too. Do you tend to use power tools often? If so, consider adding features like a power strip or a dedicated space for your tools. If you’re someone who works with smaller components, incorporating drawers or pegboards can be incredibly helpful.
The height of the workbench is another important factor. If you’re going to be doing a lot of standing work, like repairing car parts, you’ll want the workbench to be at a comfortable height to avoid straining your back. You can also design the workbench to have an adjustable height if you like to sit down at times.
Choosing Materials
When it comes to choosing materials, durability and strength are the top priorities. Over the years, I’ve built workbenches using different types of wood and materials, but I always come back to a sturdy hardwood, like oak or maple, for the top. These woods are tough and provide a solid surface for all sorts of tasks, from hammering to cutting.
For the legs and framework, I typically go with 2x4s. They’re affordable, easy to work with, and provide great support. You could use metal if you want something more industrial or high-end, but wood is more than enough for most people’s needs.
Additionally, I always make sure to use screws and wood glue for assembling the parts. Nails can work, but screws are much more reliable and ensure the workbench holds up to heavy use. I also prefer wood screws because they provide a tighter fit and are easier to remove if needed.
Another material to consider is the surface finish. I usually use a durable polyurethane finish on the top to protect the wood from spills, stains, and other damage. This also helps extend the lifespan of the workbench, especially if you’ll be using it for messy or high-impact tasks.
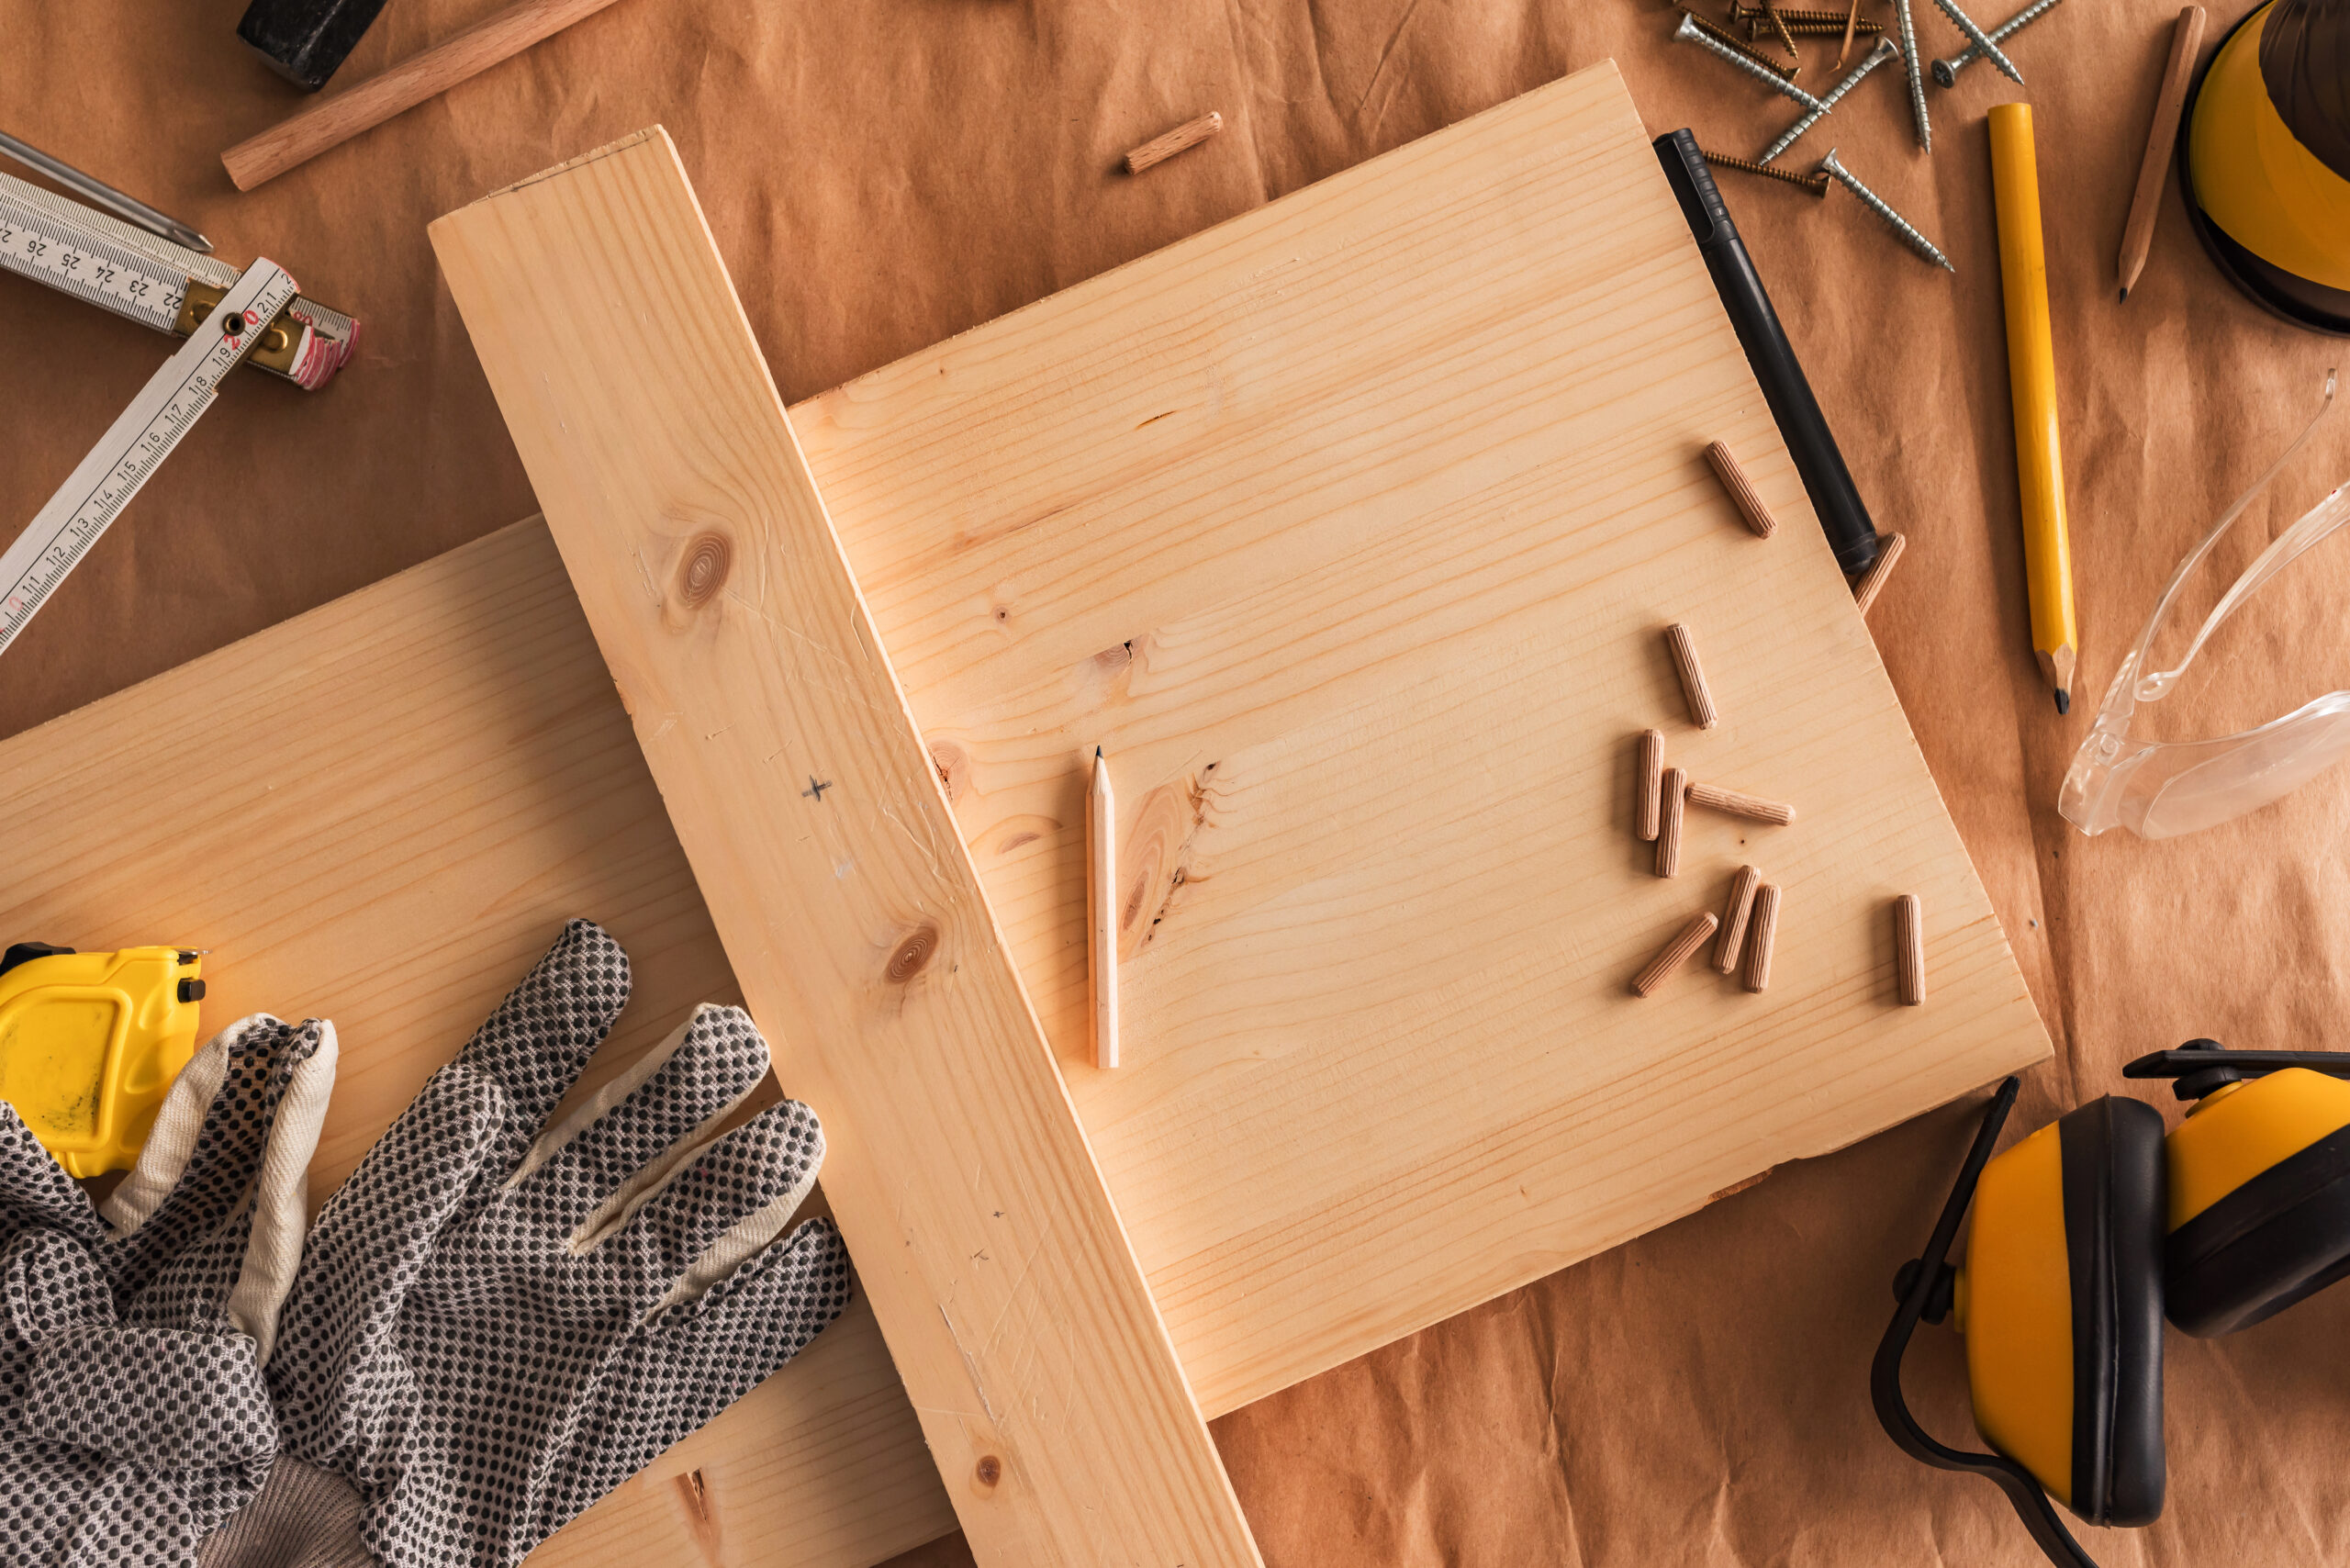
Assembling the Workbench
Once you’ve got your design and materials sorted, it’s time to start putting the workbench together. This part is incredibly rewarding, especially when you see your vision starting to come to life.
The first step in assembling the workbench is to create the frame. Start by cutting your 2x4s to the right lengths for the legs and horizontal supports. I recommend using a square and a level to ensure everything is perfectly aligned as you build the frame. This is the skeleton of your workbench, so it’s essential to make sure it’s sturdy and square.
Once the frame is done, attach the top. You can either use screws or dowels, depending on your preference. I usually screw it down to make sure it’s securely attached and doesn’t move. If you’re adding storage features like drawers or shelves, now is the time to install them. You’ll want to make sure there’s enough space to store your tools and materials while keeping them easily accessible.
Finally, add any finishing touches to personalize your workbench. You can add a backsplash or a pegboard for tool organization, or even paint the frame if you want it to match your garage. Don’t forget about safety as well—adding corner protectors or sanding any rough edges will ensure that you’re not at risk of injury while working.
Using Your New Workbench
After all the work, there’s nothing more satisfying than standing in front of your new workbench, ready to get to work. The first time you use it, there’s a sense of pride in knowing you built something functional, customized, and exactly how you like it. And once you start using it regularly, you’ll find that the workbench becomes an essential part of your workflow.
Having everything organized and within reach makes your tasks more efficient. I find that when my workbench is well-organized, I spend less time searching for tools and more time focusing on the job at hand. The beauty of building your own workbench is that you can continue to adjust and add features as your needs evolve.
Building your own workbench is a project that anyone can take on. It might seem like a big task at first, but with the right plan and materials, it’s incredibly rewarding. Not only do you get a workspace that’s designed exactly how you need it, but you also get the satisfaction of knowing you built it yourself.
Whether you’re just starting out with DIY projects or are an experienced craftsman, a custom-built workbench is an investment that will pay off for years to come. Take your time, enjoy the process, and you’ll have a workspace that’s as functional as it is fulfilling.